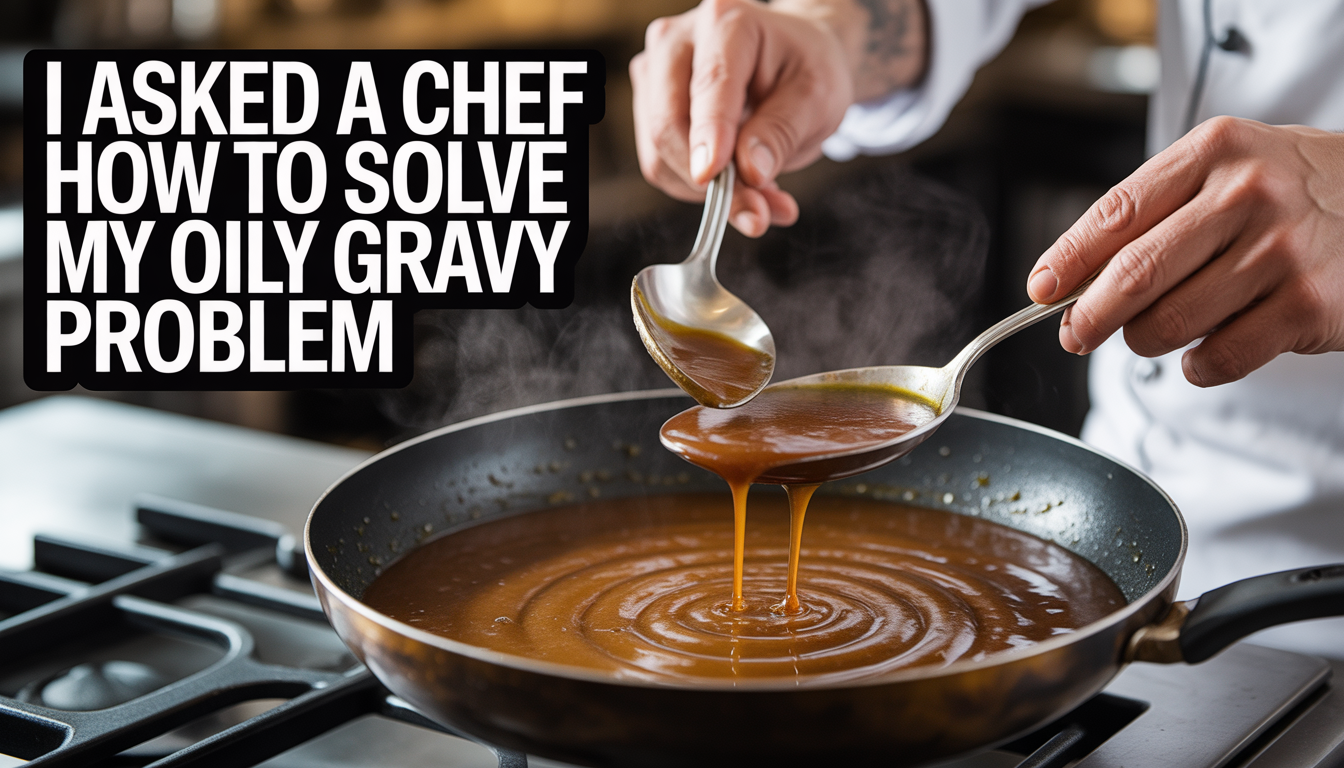
I remember a Thanksgiving dinner about five years ago when I was in charge of the turkey and the gravy. I had followed the family recipe for the bird to total perfection, but the gravy was a different story. I had whisked together the drippings and the flour, I had added the stock, and I had seasoned it with fresh herbs. But when I poured it into the silver gravy boat, it didn’t look like a rich, velvety sauce. It looked like an oil slick on top of a muddy pond. There was a thick, yellow layer of grease floating on the surface that refused to mix with the rest of the liquid. I felt a wave of embarrassment as I realized I was about to serve a “grease lake” to ten people. That was the night I decided to call my friend Marcus, a professional chef at a high-end French bistro, to ask him why my gravy was failing and how I could save it in under two minutes.
The Science of the “Grease Lake”:
Marcus started by explaining that gravy is essentially an emulsion. An emulsion is a mixture of two liquids that normally don’t like to stay together, like oil and water. To get them to bond, you need an “emulsifier” and a bit of mechanical force. In the world of recipes and food, the most common emulsifier is the starch in your flour or cornstarch.
The reason my gravy was oily wasn’t that I had “bad” drippings. It was because the ratio of fat to liquid was completely out of balance. When you roast a turkey or a roast beef, the meat releases a massive amount of rendered fat. If you just dump all of those drippings into a pan, you are overwhelming the flour. The flour can only “hold onto” so much fat before it lets go, and that is when the oil starts to separate and float to the top. It is a sign that your emulsion has “broken,” and once you understand that, you can use a few professional hacks to put it back together.
The First Fix: The “Ice Cube” Magnet:
This is the most famous chef’s secret for a reason. It feels like magic when you see it happen. If you have a finished gravy that is already in the boat and you see that yellow oil slick, you don’t have time to start over. You need a way to pull the fat out without losing the flavor.
Marcus told me to grab a single, large ice cube and a pair of tongs. You gently dip the ice cube into the very top layer of the gravy, where the oil is floating. Do not let go of the ice cube. The cold surface of the ice causes the liquid fat to instantly solidify and “stick” to the cube. You then pull the cube out, wipe off the congealed fat with a paper towel, and repeat the process until the surface is clean.
- Speed: This takes about thirty seconds.
- Effectiveness: It removes about 80% of the surface oil.
- The Downside: You have to work fast so you don’t melt the ice and water down your sauce.
I tried this during a “dry run” a week later, and it worked like a charm. It is a great bland food fix for the eyes as much as the palate, because nobody wants to eat a sauce that looks like it came from a garage floor.
The Second Fix: The Bread Crust Absorption:
If you don’t have ice or you are worried about watering down your sauce, Marcus suggested the “bread crust” method. This is a bit more rustic, but it is incredibly effective for smaller amounts of grease.
You take a piece of dry, white bread or even a stale crust, and you gently lay it on top of the gravy. The bread acts like a sponge, but because oil is more viscous than the watery stock, the bread will actually “select” the oil first. You leave it there for about five seconds and then lift it out with a fork.
- The Pros: It is impossible to mess up and doesn’t change the temperature of the gravy.
- The Cons: You might lose a little bit of the actual sauce along with the oil.
- Pro Tip: Use the “heel” of the loaf, as it is sturdier and less likely to crumble into your gravy.
I find this method particularly helpful when I am making a stew or a hearty beef gravy, where a little bit of bread crumb wouldn’t be noticed anyway. It is a simple, sustainable way of living to use up the parts of the bread that usually get thrown away.
The Third Fix: The Starch Slurry Reset:
Sometimes, the gravy isn’t just oily on top. Sometimes the whole thing feels thin and greasy. This means your initial “roux” (the mixture of flour and fat) wasn’t strong enough. In this case, you need to add more “binding power” to pull the oil back into the liquid.
Marcus warned me never to just throw dry flour into hot gravy. It will turn into “flour dumplings” that are impossible to whisk out. Instead, you make a slurry. You mix one tablespoon of cornstarch or flour with two tablespoons of cold water or cold stock until it is a smooth paste. You then slowly whisk this into your simmering gravy. As the starch molecules expand, they act like tiny “anchors” that grab onto the oil molecules and pull them down into the sauce.
- Heat is Key: Starch only “activates” at a simmer. If your gravy is just warm, the slurry won’t work.
- The Gloss Factor: Cornstarch creates a shiny, translucent gravy, while flour creates a matte, opaque gravy.
- Whisking Force: Use a high-quality wire whisk and move in a “figure-eight” pattern to ensure the oil is fully incorporated.
I used to be afraid of cornstarch because I thought it made food look like “cafeteria gravy,” but Marcus explained that it is actually the secret to that beautiful “mirror finish” you see in five-star restaurants.
The Fourth Fix: The Immersion Blender Emulsion:
If you have a truly stubborn oil problem and you don’t mind a slightly “frothy” texture, you can use mechanical force to fix the emulsion. This is the most “high-tech” way to solve the problem, and it works 100% of the time.
You take an immersion blender (also known as a stick blender), and you put it directly into the pot of gravy. Pulse it on a medium setting for about fifteen seconds. The rapidly spinning blades break the oil droplets into microscopic pieces that are so small they can no longer float to the top. They become suspended in the liquid, creating a rich, creamy, and incredibly smooth sauce.
- The Result: The gravy will turn a slightly lighter color because of the air being incorporated.
- Safety First: Make sure the head of the blender is fully submerged before you turn it on, or you will be wearing hot, oily gravy on your face.
- The Chef’s Secret: Many pros do this even if the gravy isn’t oily, just to give it a “velouté” texture that feels more luxurious on the tongue.
[Table: Which Gravy Fix Should You Use?]
| Method | Best For… | Difficulty | Time Required |
| Ice Cube | Heavy surface oil in a finished boat. | Easy | 30 Seconds |
| Bread Crust | Small amounts of oil in a rustic stew. | Very Easy | 10 Seconds |
| Starch Slurry | Thin, greasy gravy that needs body. | Medium | 3 Minutes |
| Immersion Blender | Large batches that won’t stay together. | Easy | 15 Seconds |
| Fat Separator | Preventing the problem before it starts. | Medium | 1 Minute |
How to Prevent Oily Gravy in the First Place:
While Marcus gave me all the “rescue” tips, he spent the most time talking about how to never have this problem again. Prevention is the cornerstone of professional cooking.
The biggest mistake home cooks make is using all the drippings. When you pull your meat out of the oven, let the drippings sit in a glass measuring cup or a “fat separator” for five minutes. You will see the clear, yellow fat rise to the top and the dark, flavorful “jus” sink to the bottom.
- The 1:1 Ratio: For every tablespoon of fat you keep, you must add exactly one tablespoon of flour. This ensures the roux is perfectly balanced.
- Cook the Roux: You must cook the flour and fat together for at least two minutes before adding liquid. This “toasts” the starch and makes it much more effective at holding onto the oil.
- Cold Stock, Hot Roux: Always add cold stock to a hot roux, or hot stock to a cold roux. If they are both the same temperature, they won’t bond as easily, and you are much more likely to get lumps or oil separation.
I bought a “fat separator” jug for ten dollars after my conversation with Marcus. It has a spout that comes out of the bottom of the container, so you can pour out all the rich meat juices and leave 100% of the grease behind. It is the best ten dollars I have ever spent on my kitchen.
The Secret of the “Acid Hit”:
Sometimes, even if the gravy isn’t technically “oily,” it can feel “greasy” on the tongue. This is a subtle but important difference. If the flavor feels heavy and coats your mouth in a way that isn’t pleasant, you don’t have a structural problem. You have a balance problem.
As we discussed in the bland food fix guide, the solution to “heaviness” is always acid. A teaspoon of apple cider vinegar, a splash of dry sherry, or a squeeze of fresh lemon juice can “cut through” the fat. It chemically breaks down the sensation of oil on your palate, making the gravy taste lighter and more sophisticated.
I once made a very rich duck gravy that felt like I was drinking melted butter. I stirred in one teaspoon of balsamic vinegar. The darkness of the vinegar matched the color of the gravy, but the acidity made the whole dish “pop.” It went from “too much” to “perfect” in a single stir.
The Importance of Resting Your Meat:
This might sound like it has nothing to do with gravy, but Marcus insisted it was the most important step. If you carve your meat as soon as it comes out of the oven, all the juices will run out onto the cutting board. Those juices are full of water and fat. If you try to scramble and add those “board juices” to your gravy at the last second, you are almost guaranteed to break your emulsion.
By letting your meat rest for twenty minutes, the juices “set” inside the muscle fibers. This means the drippings you already have in the pan are stable and ready to be turned into a professional sauce. It gives you the time to focus on your recipes and food without the stress of a cooling bird or a frantic carving session.
Conclusion:
Fixing an oily gravy is a rite of passage for every home cook. Whether you use the “ice cube magnet” or a mechanical blender reset, the goal is always the same: a silky, rich, and flavorful sauce that enhances the meal rather than distracting from it.
FAQs:
1. Can I use a paper towel to skim the oil?
Yes, you can gently “drag” a folded paper towel across the surface, but it is much messier than the ice cube or bread method and often takes too much of the good sauce with it.
2. Why does my gravy separate when I reheat it?
Reheating often “breaks” the starch bonds. To fix it, just give it a vigorous whisk or add a tiny splash of water and a new “mini-slurry” to bring it back together.
3. Is “oily” gravy the same as “lumpy” gravy?
No. Lumps are caused by uncooked flour that hasn’t been properly whisked. Oily gravy is a failure of the fat-to-liquid ratio. You can have a lumpy gravy that isn’t oily, and vice versa.
4. What is a “Beurre Manié”?
It is a “cold roux” made by kneading equal parts butter and flour together. You whisk small balls of it into a finished sauce to thicken it and add a glossy finish. It is a great emergency fix for oily sauces.
5. Can I fix oily gravy in a slow cooker?
Yes, but because a slow cooker doesn’t reach a hard boil, you should use the “immersion blender” or “ice cube” method rather than a flour slurry.
6. Does the type of fat matter?
Yes. Turkey and chicken fat (schmaltz) are lighter, while beef and duck fat are much “heavier.” You may need a slightly higher flour-to-fat ratio for beef or duck to keep it stable.
